Video: Watch this 13-minute video going through the steps each of launching a new session and using each of the features.
TeleTech comes with several features that were built by technicians to aide them with remote repair services. This article will go over how to use each:
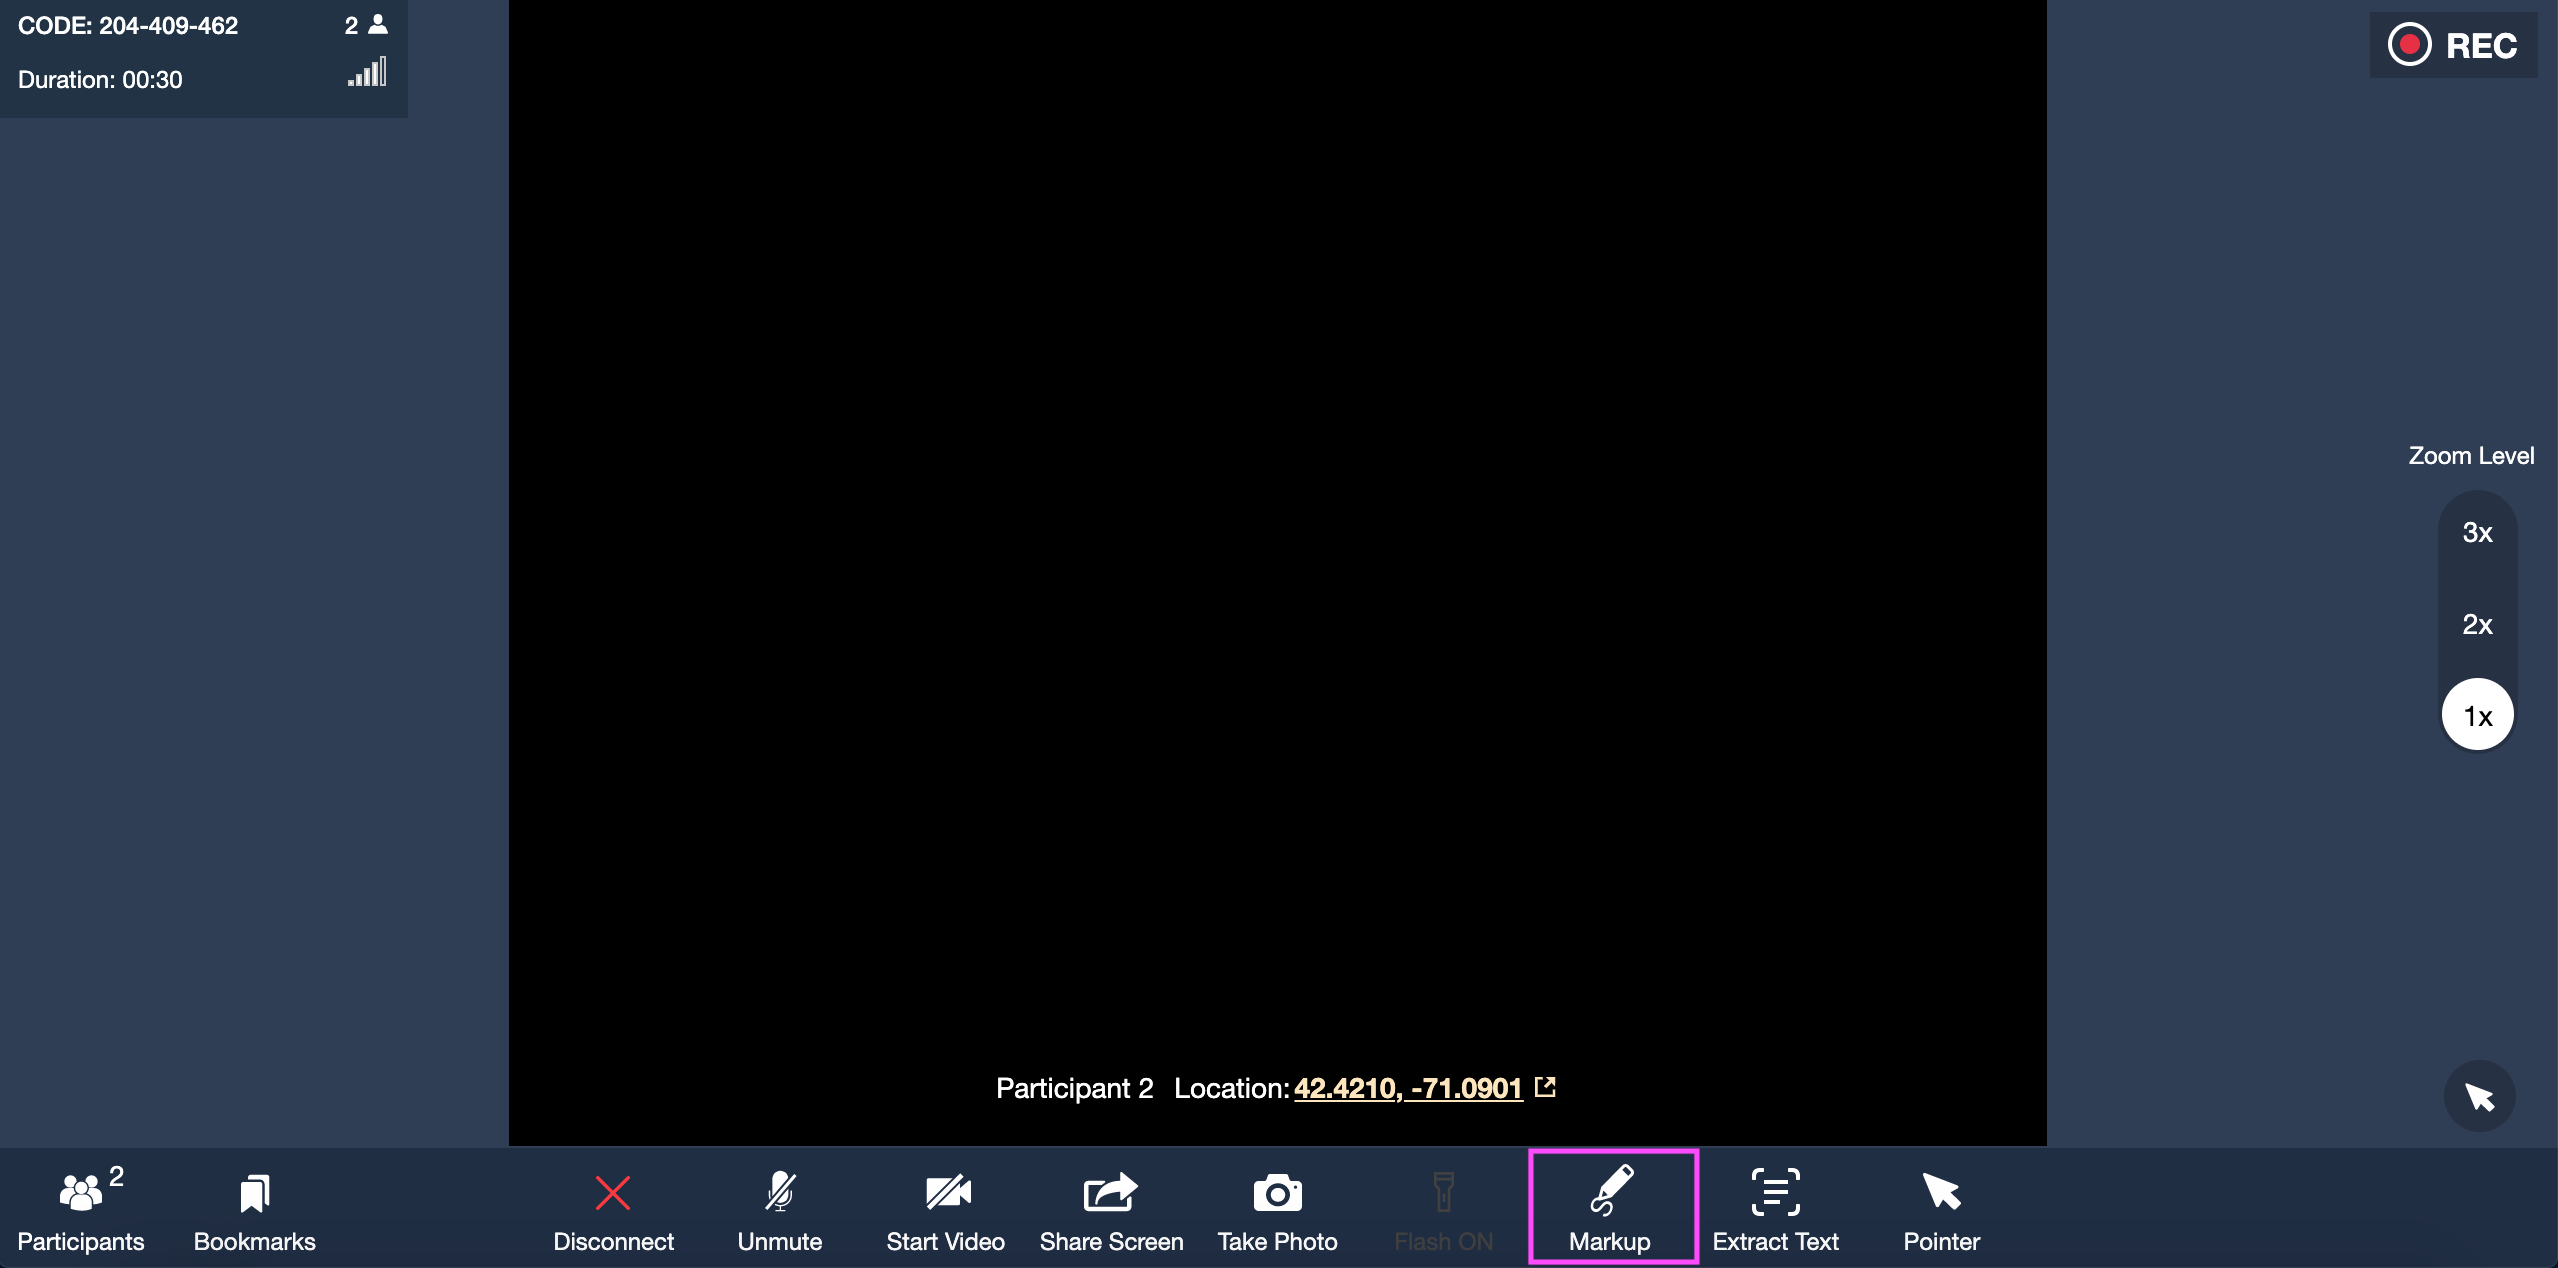
Markup:
- Select "Markup" from the menu bar at the bottom of the call session window.
- Your system will take a picture from the video stream.
- After a moment, the image appears on your screen. From there, either party can markup the image but holding down the mouse or using your finger (each person's marks will be presented in different colors). There are also a few other features you will have access to in a new right-hand menu.
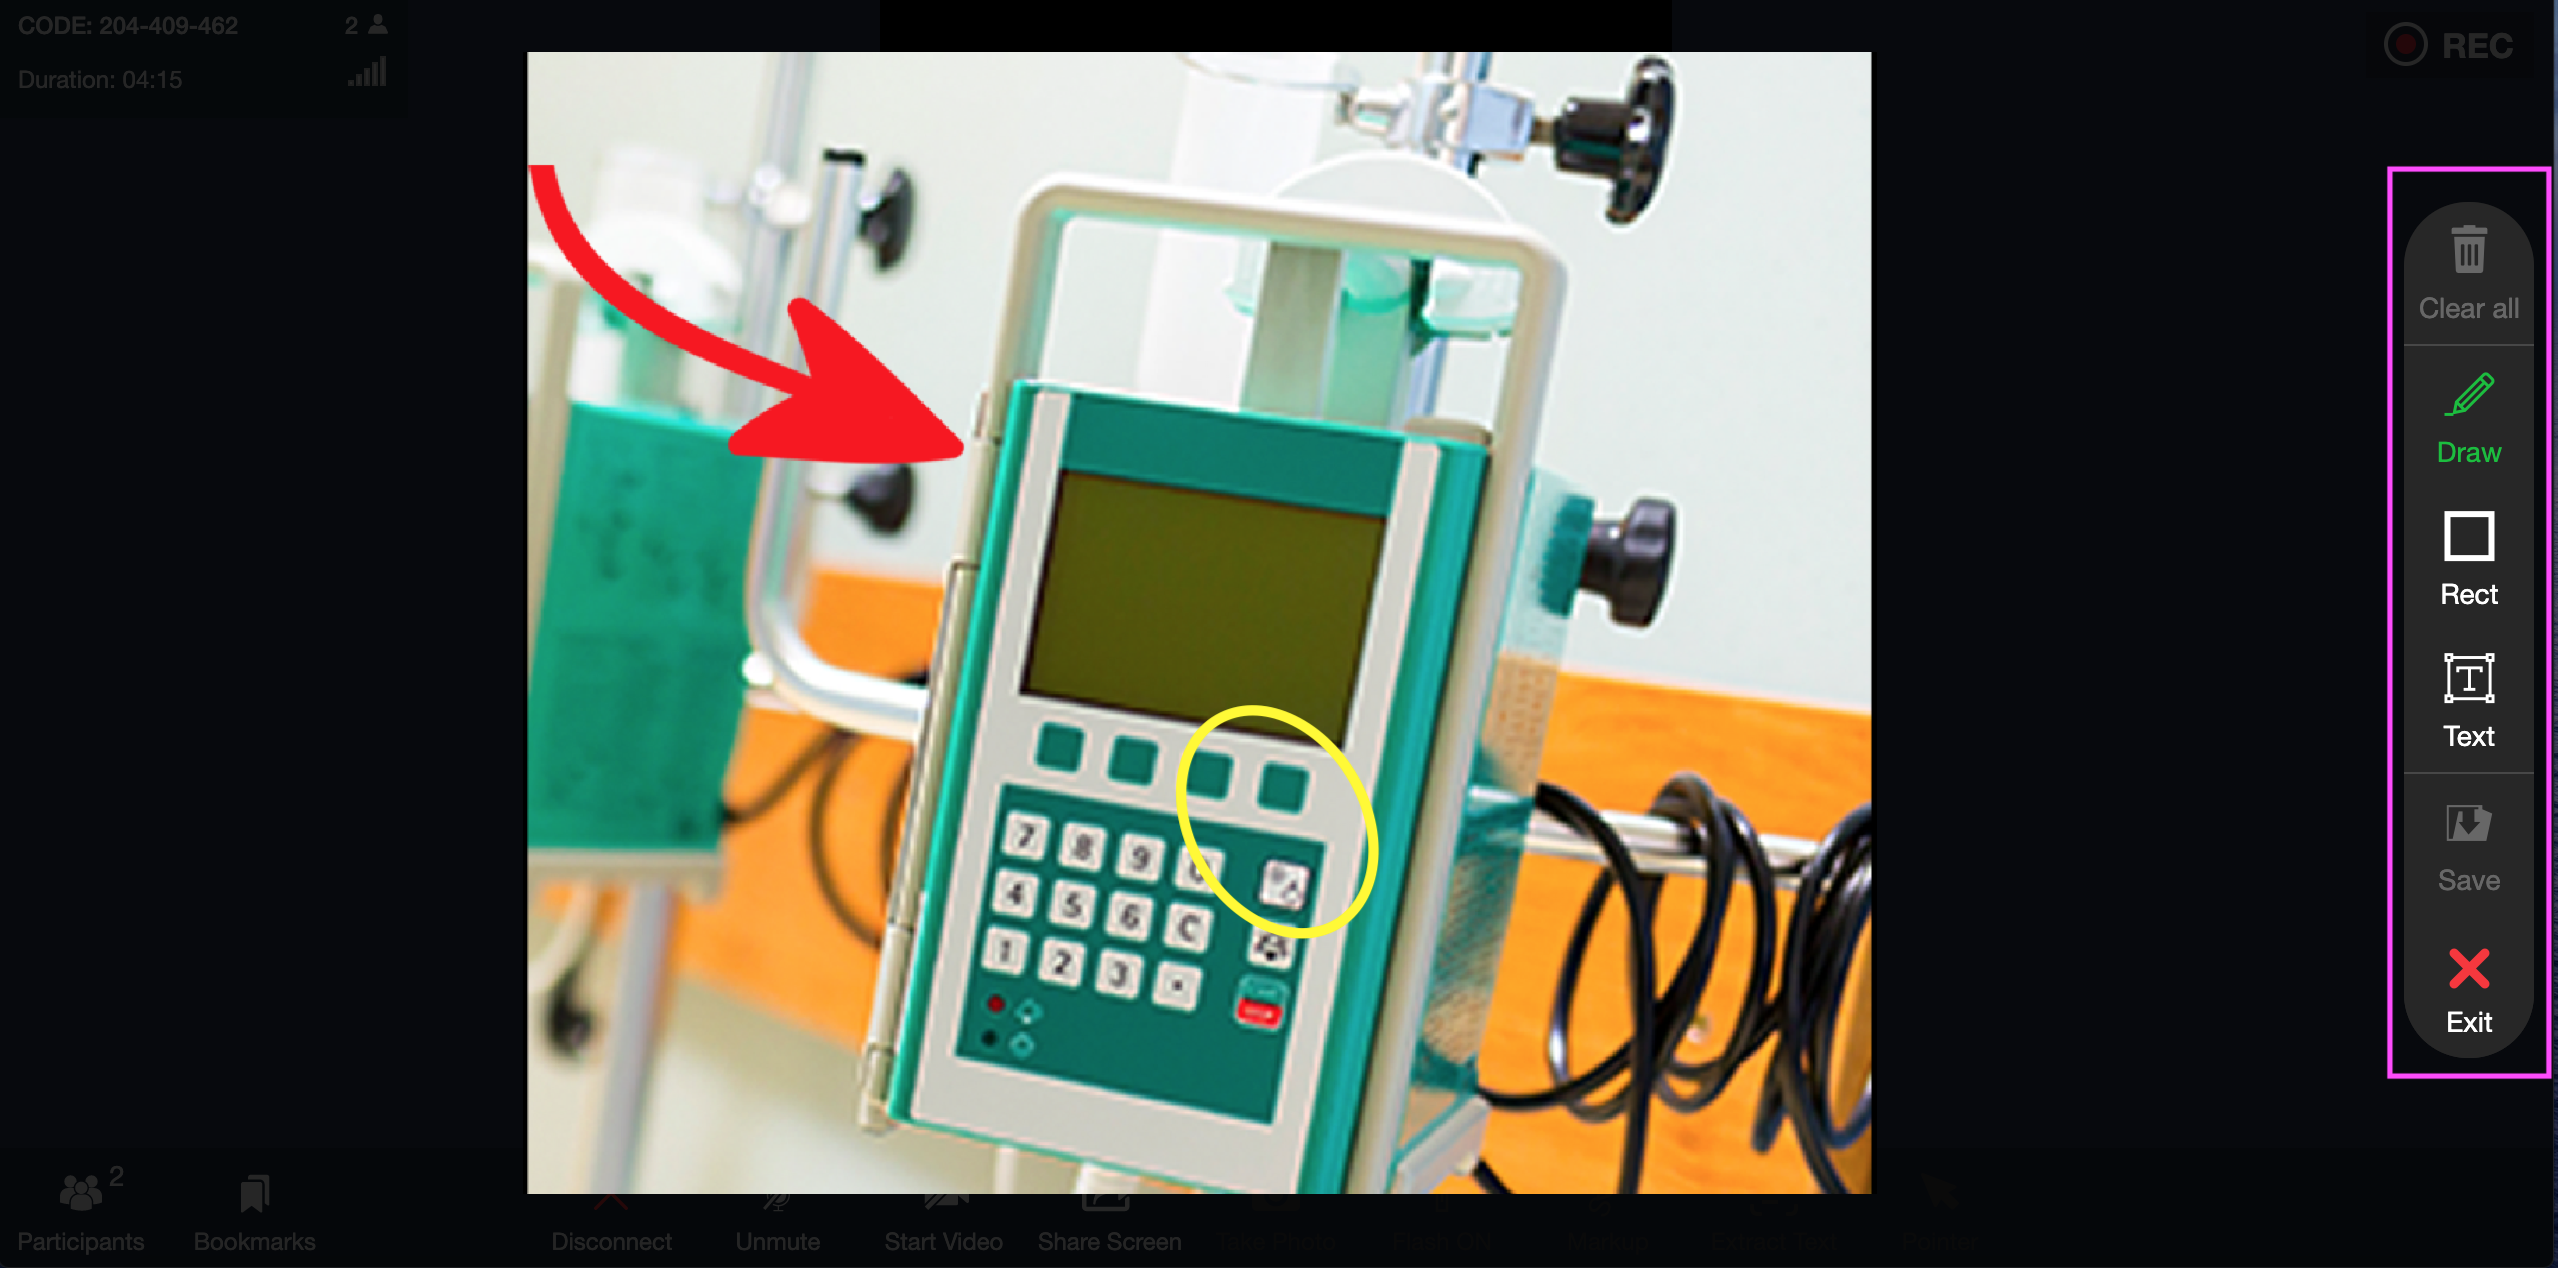
- Clear all - wipe the entire screen of any markings.
- Draw - use your mouse or finger to draw on the screen.
- Rect - draw a box on the screen.
- Save - save the markups you have created to access at a later time.
- Exit - exit from the markup feature back to the live video.
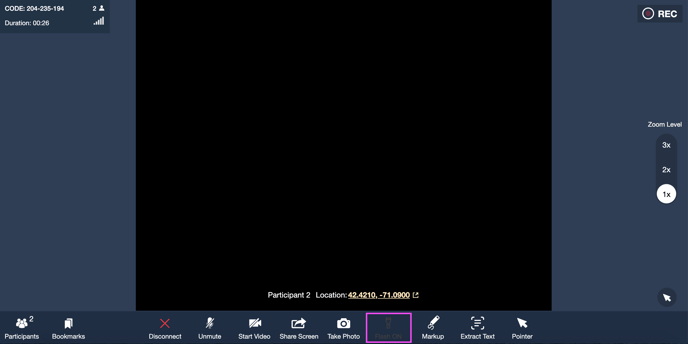
Live Pointer
- Select "Pointer" from the menu bar at the bottom of the call session window.
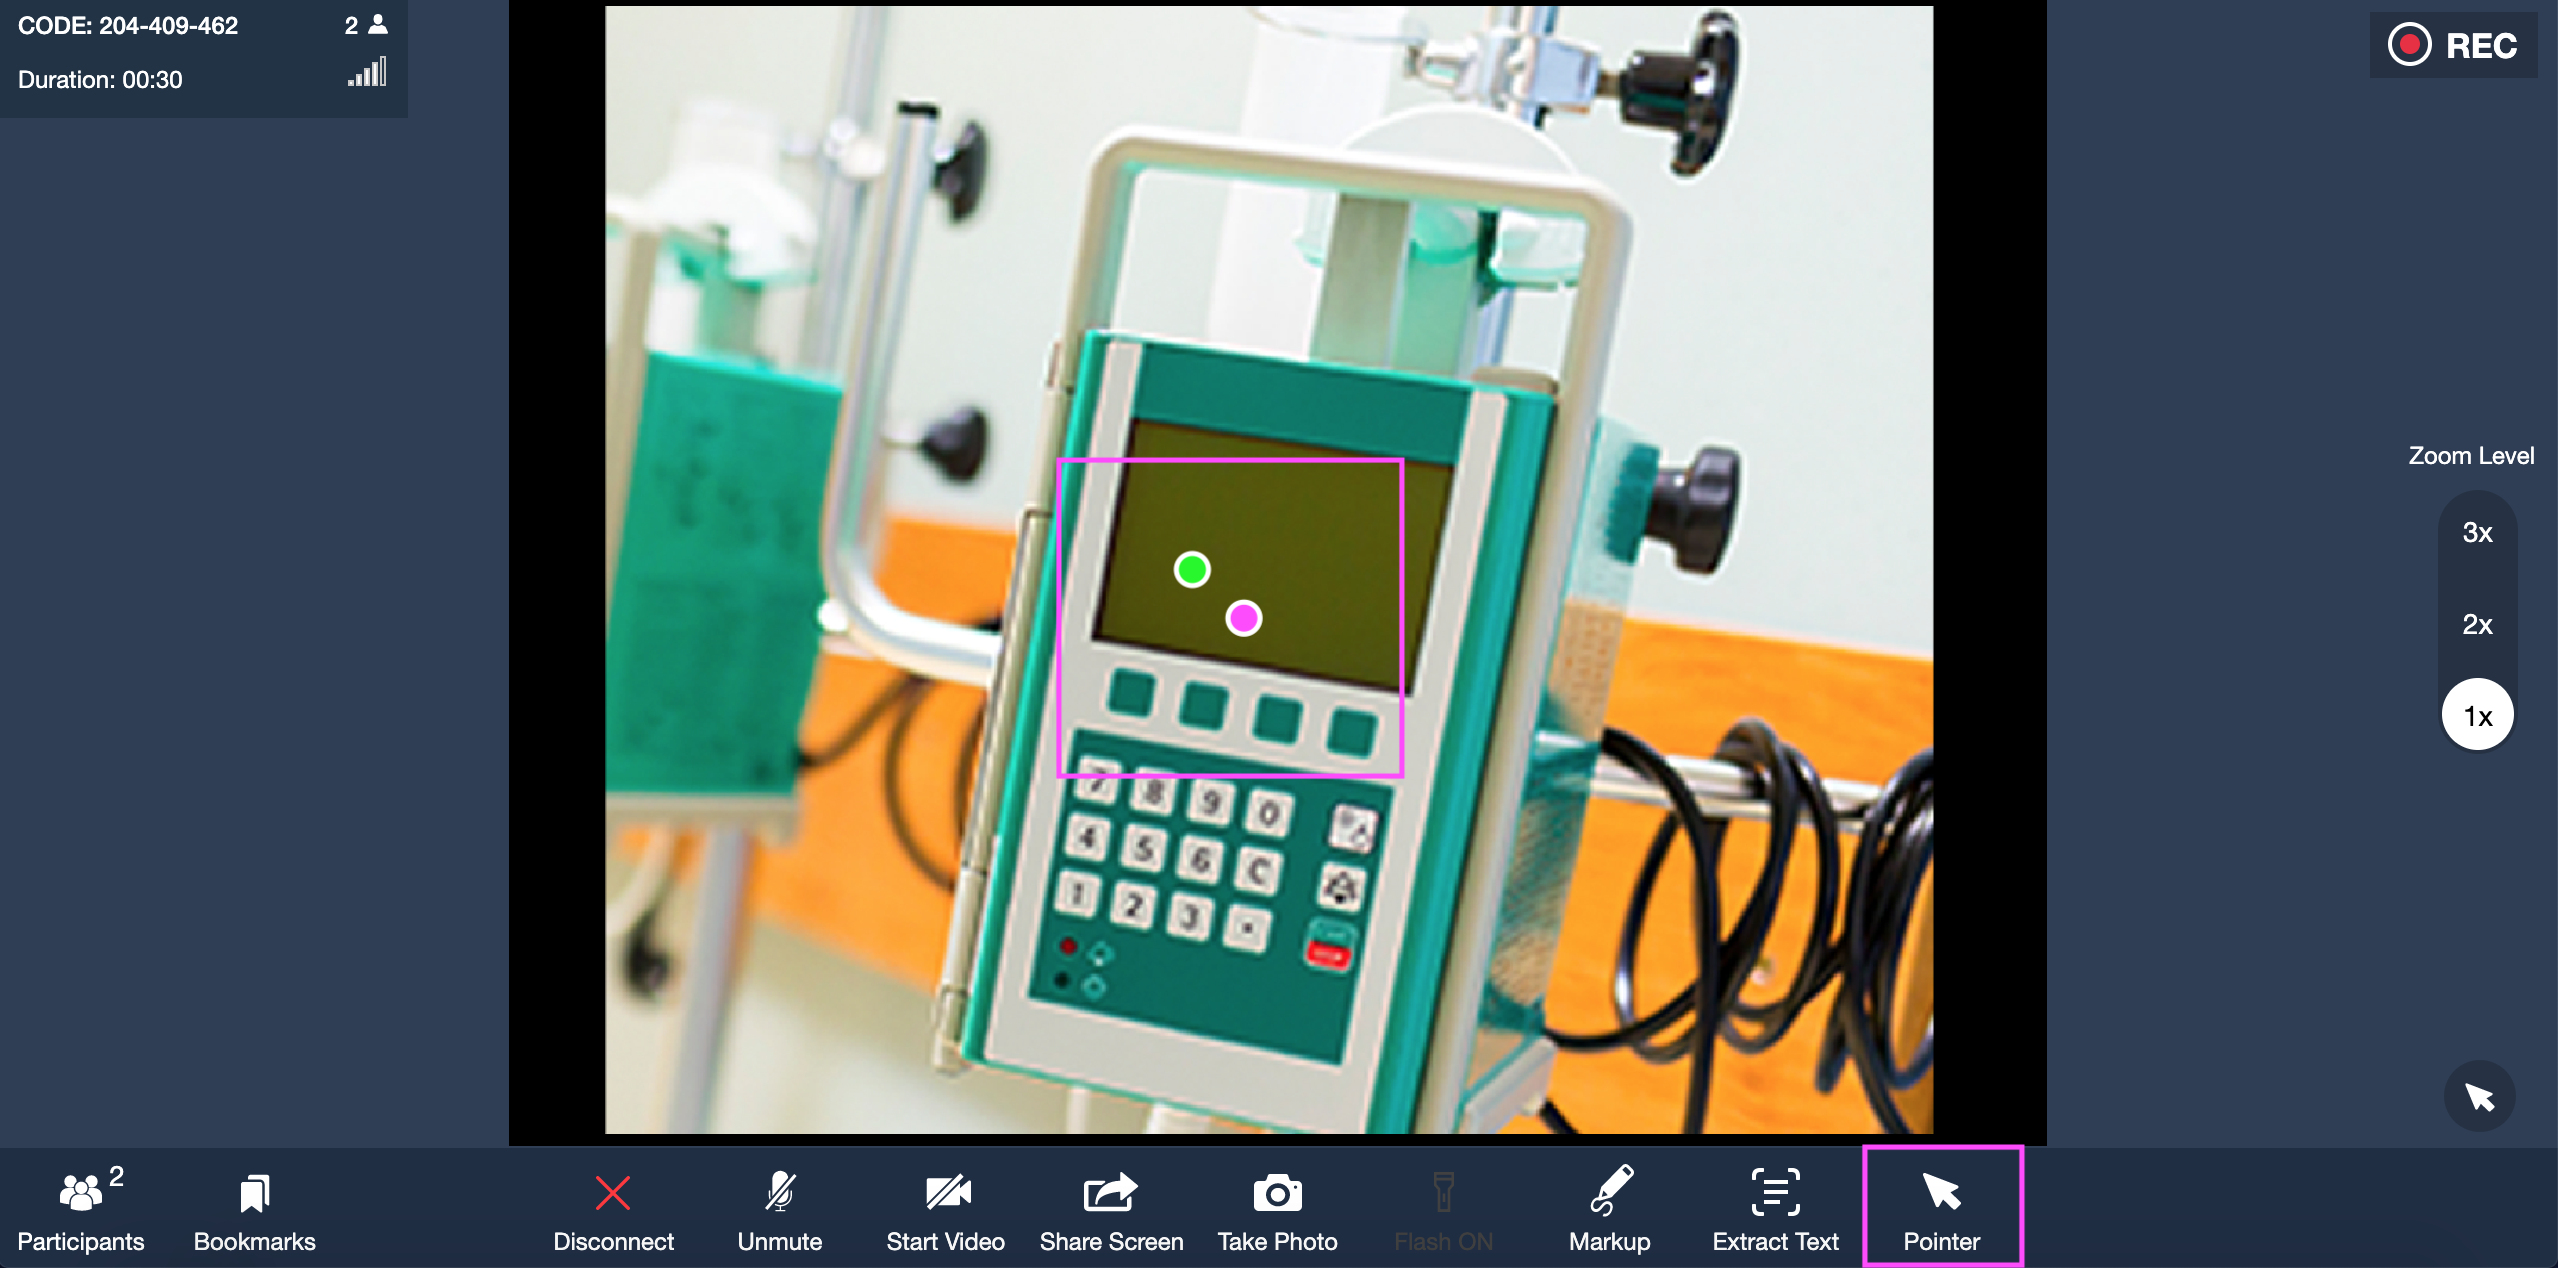
- You have now activated a live pointer that will work with the live video. Either party can markup the image but holding down the mouse or using your finger (each person's pointers will be presented in different colors).
This feature will help you point out different items of importance or easily direct clients to perform tasks.
Screen Shot
- Select "Take Photo" from the menu bar at the bottom of the call session window.
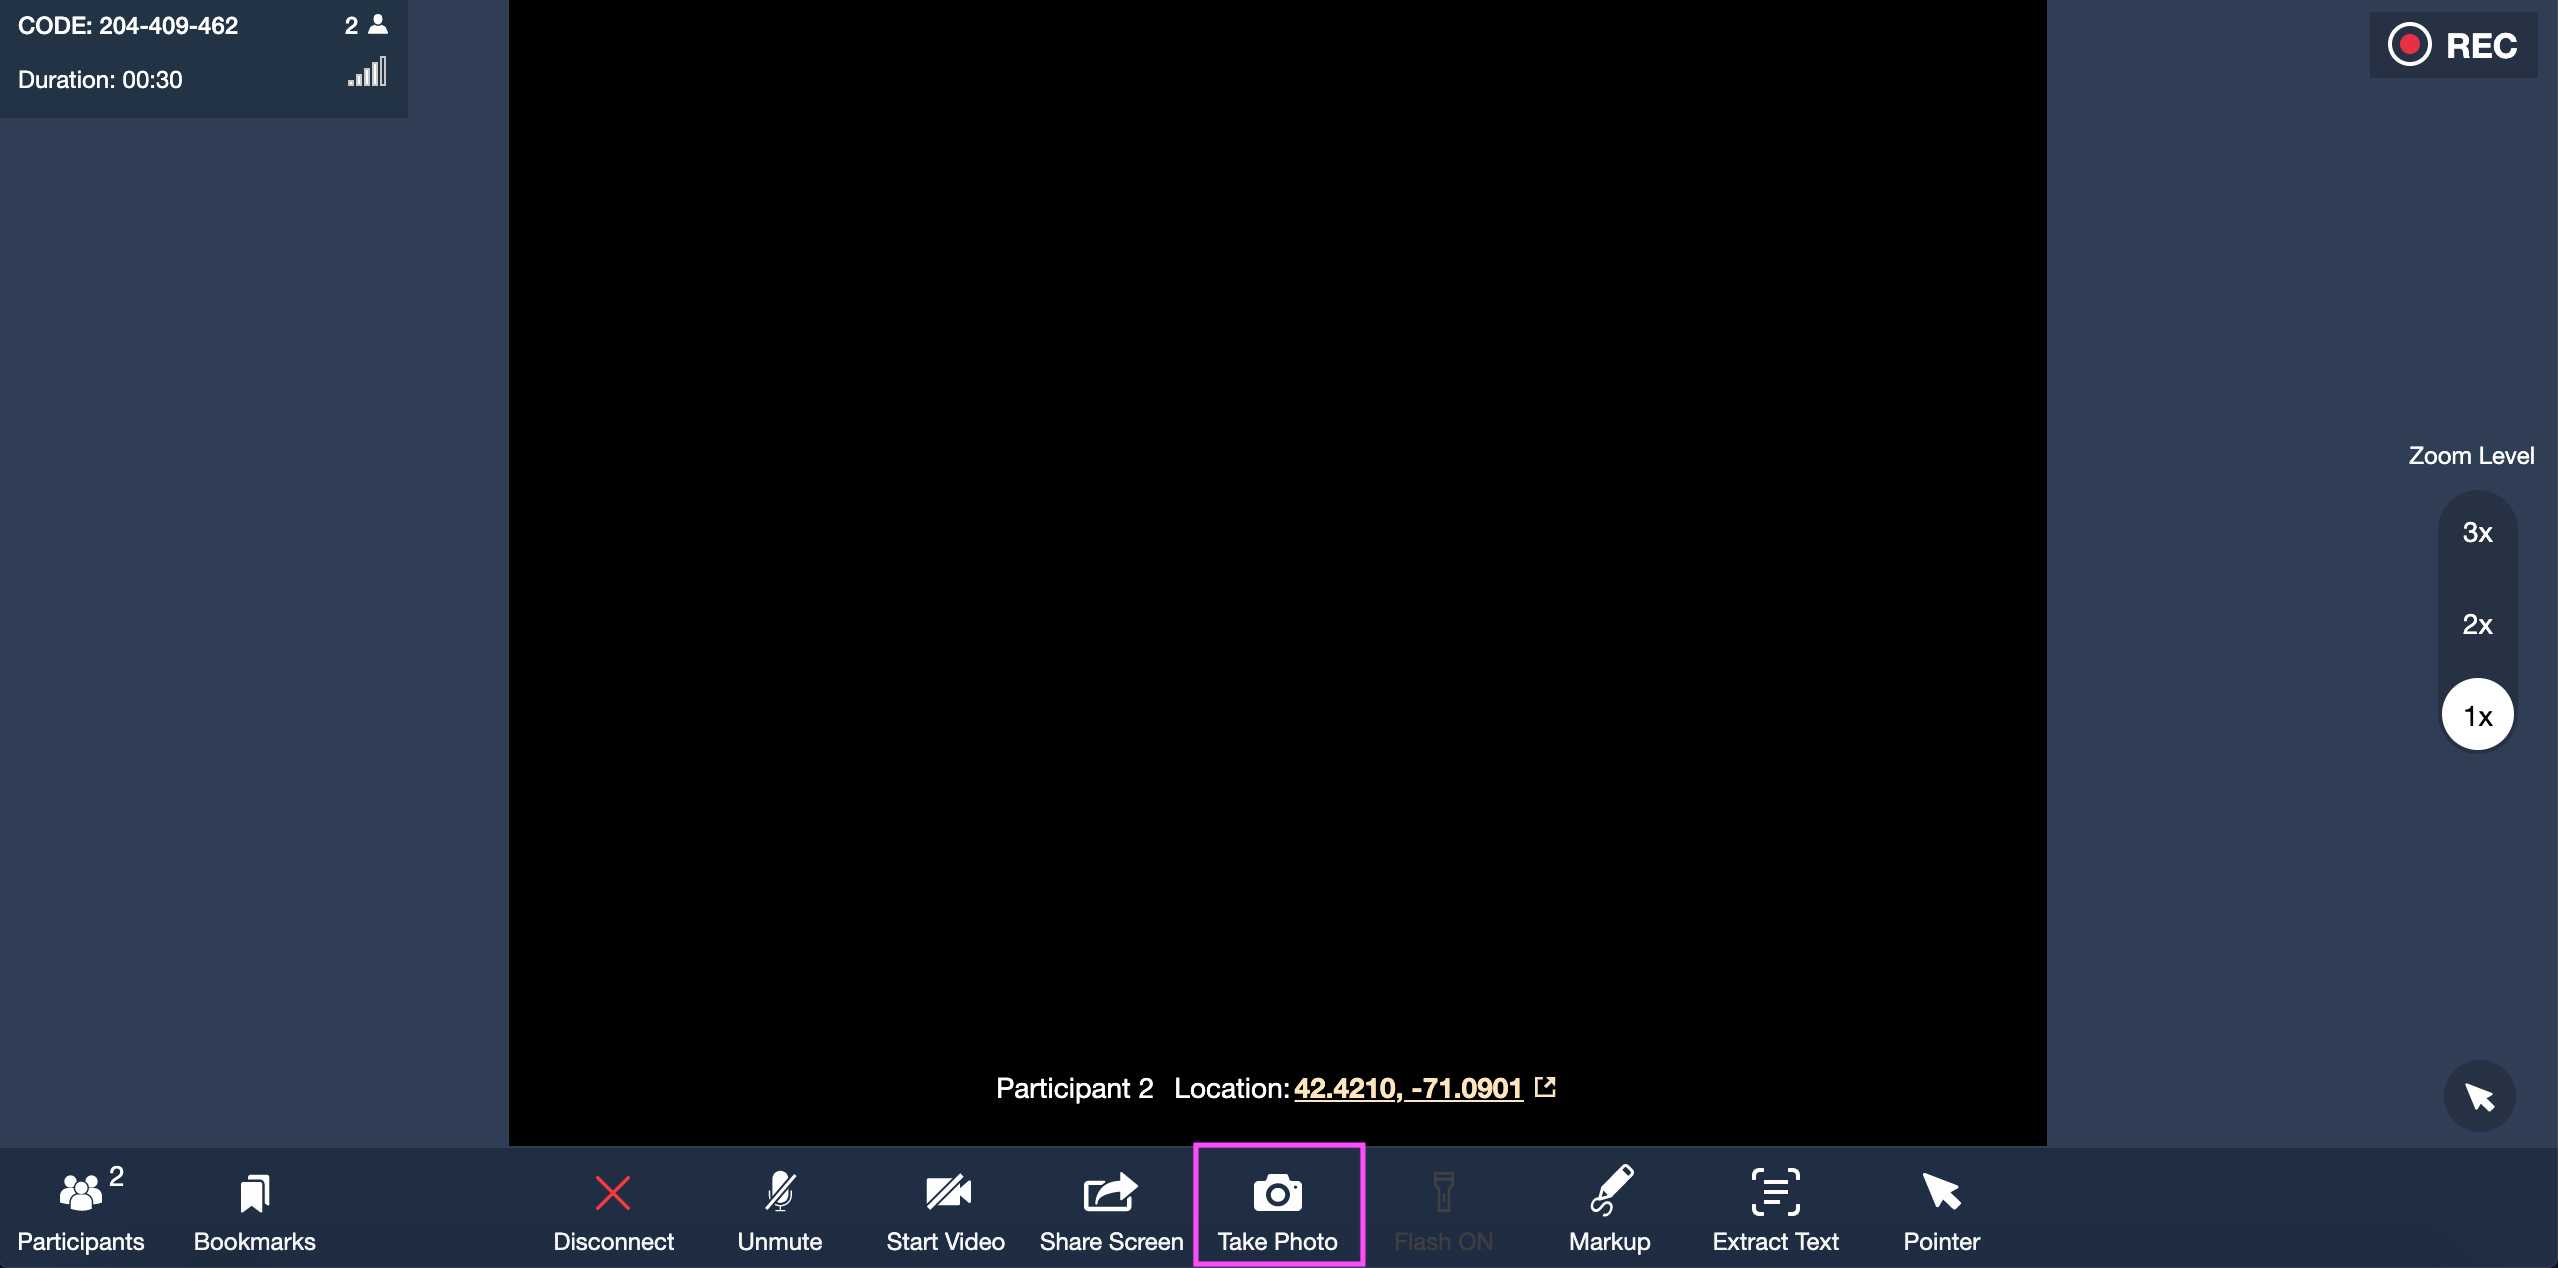
- This will capture a high-quality picture from the video stream.
The photo is automatically saved to the session history. You cannot markup or utilize any other functionality once a photo is captured.
Screen Share
- Select "Share Screen" from the menu bar at the bottom of the call session window.
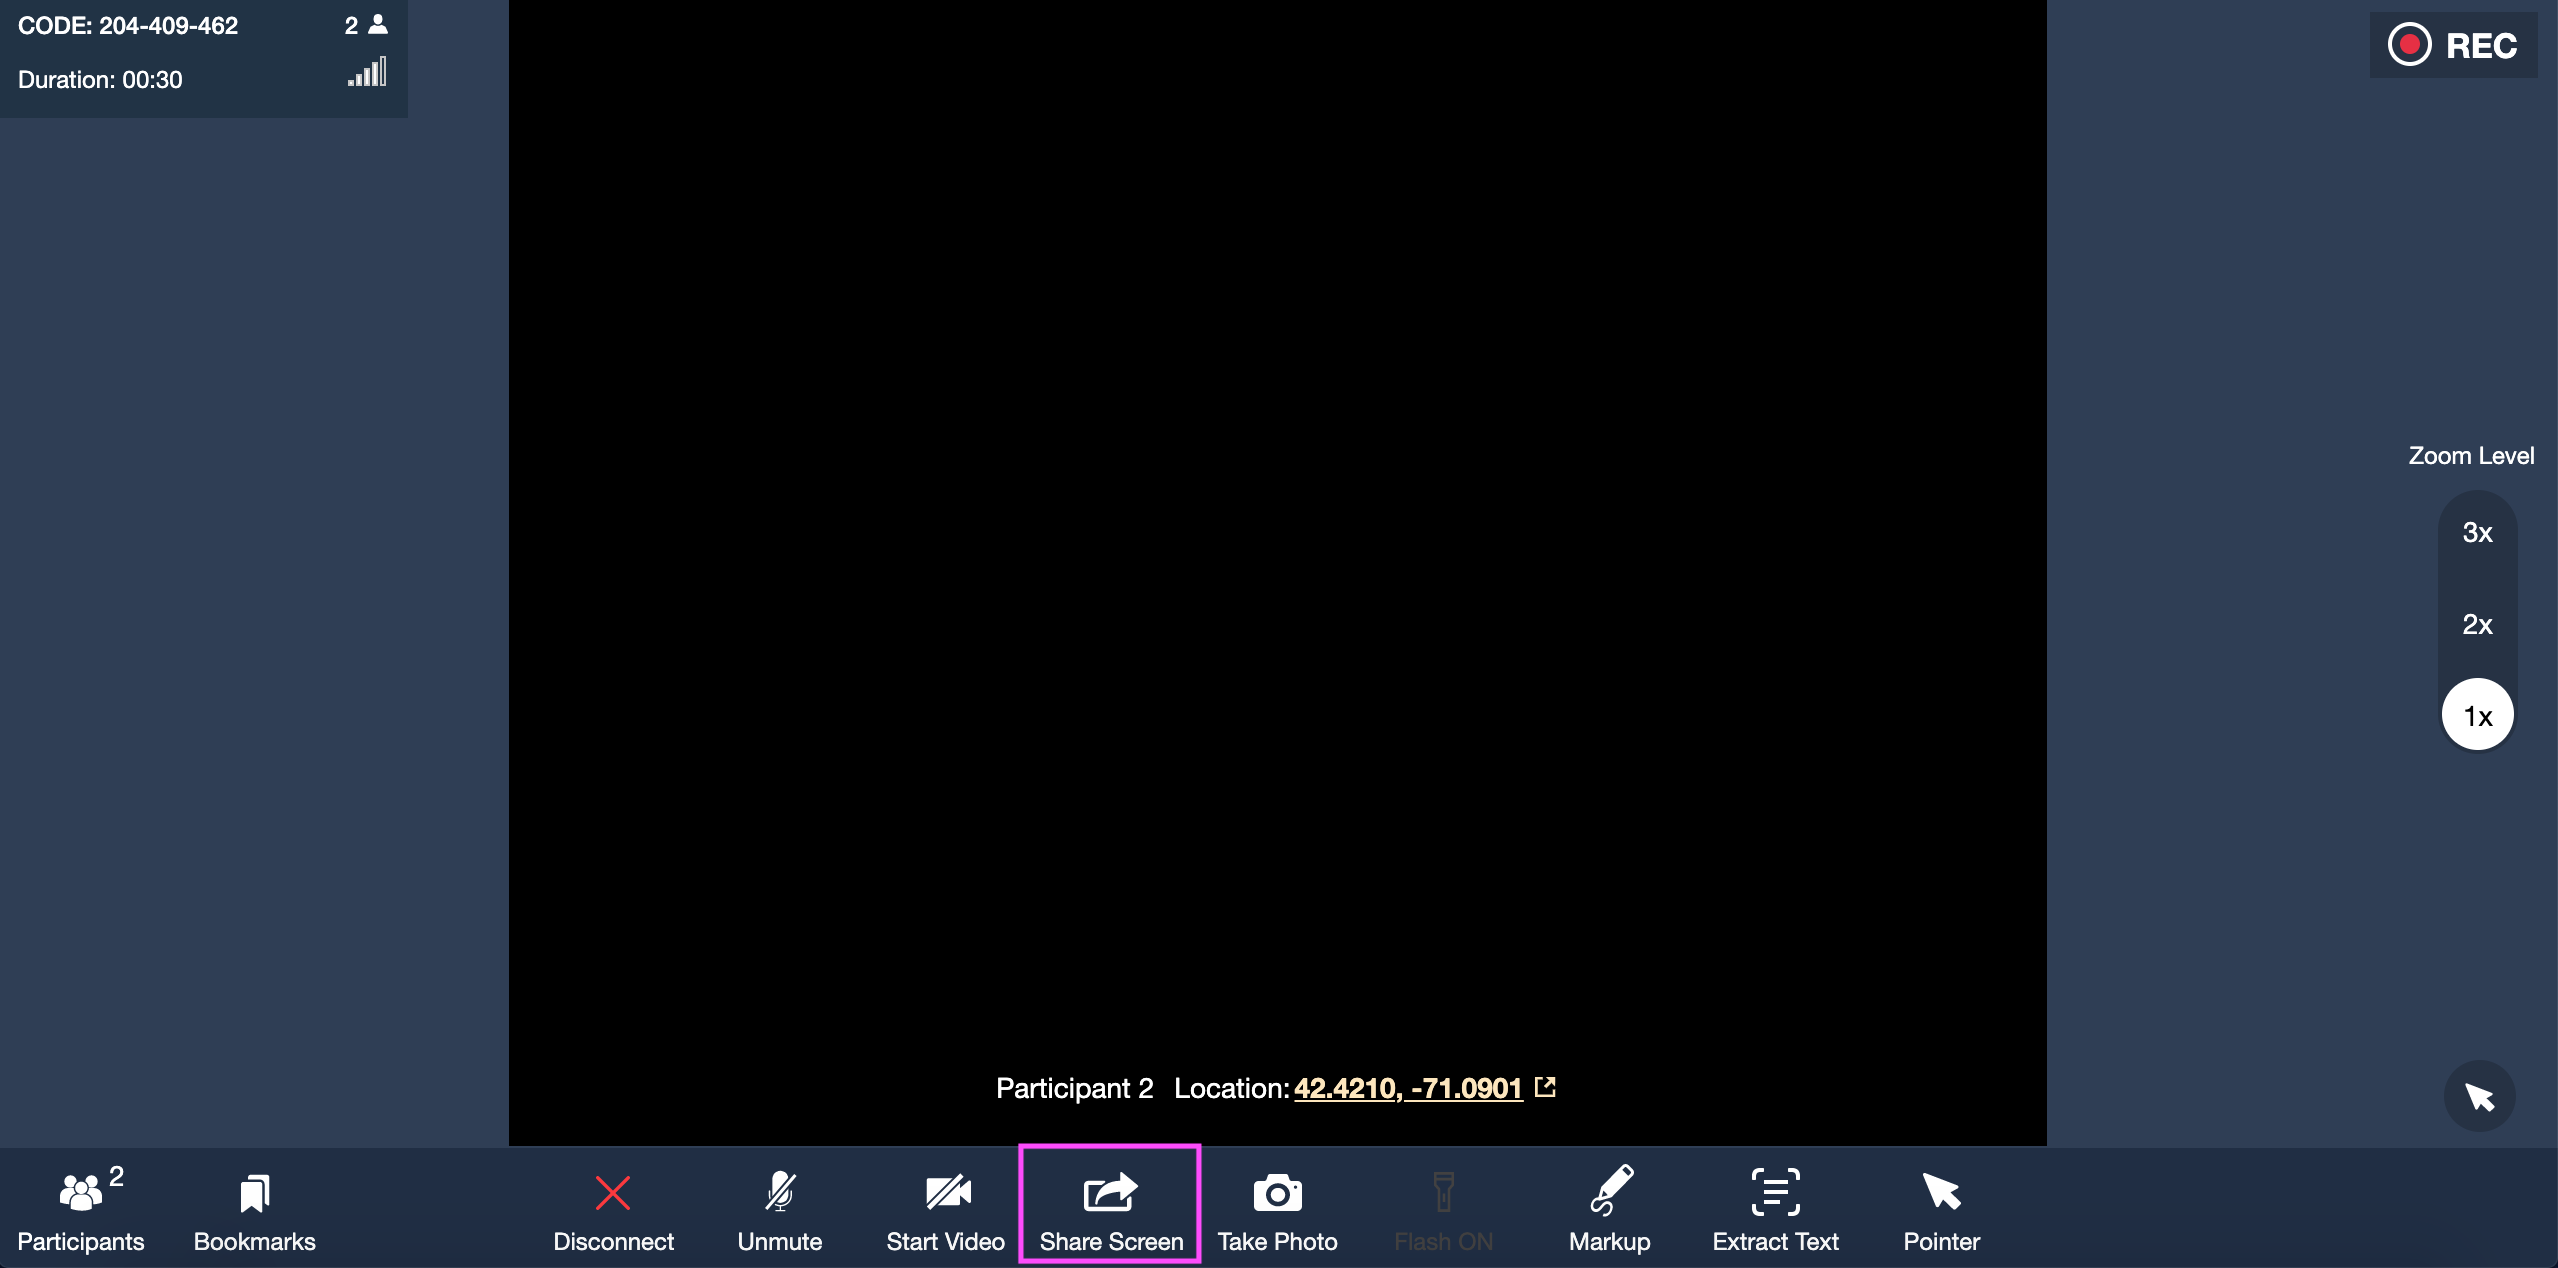
- Select the application window that you want to share by clicking on it.
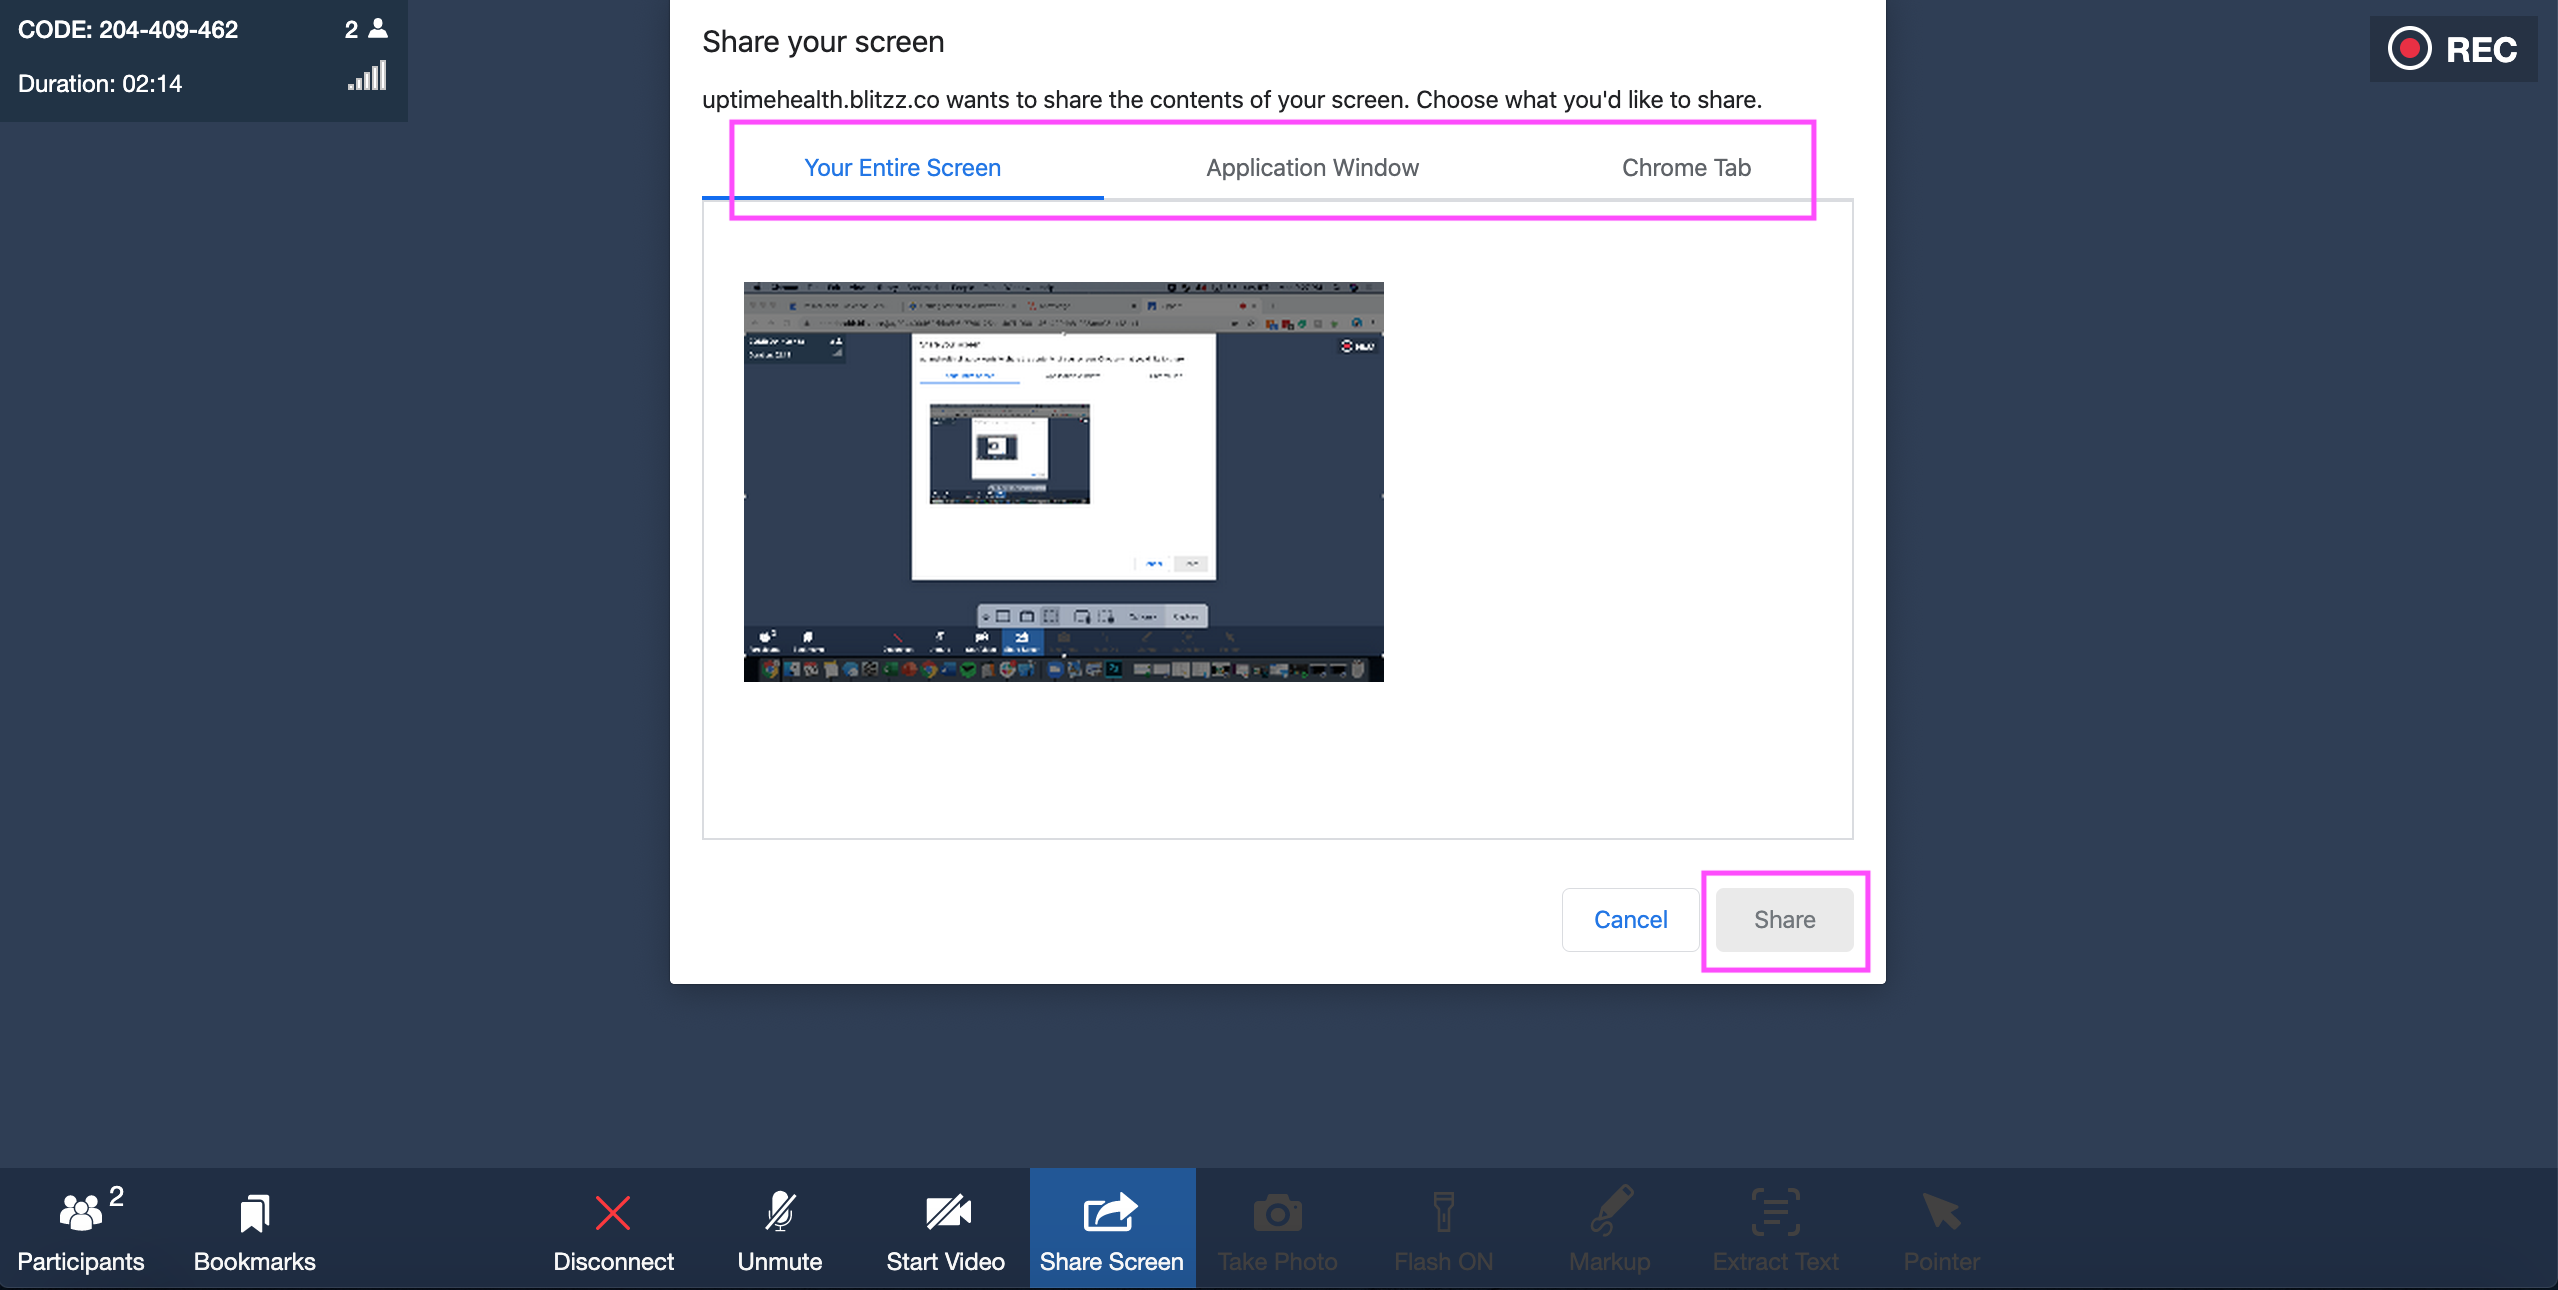
- Your Entire Screen - share your entire screen and all the contents on it
- Application Window - only share a specific application with your client
- Chrome Tab - share only a specific chrome tab with your client
- Click the Share button.
- To stop sharing click the "Stop" button to stop sharing your screen, application, or chrome tab.
Extract Text (OCR)
- Select "Extract Text" from the menu bar at the bottom of the call session window.
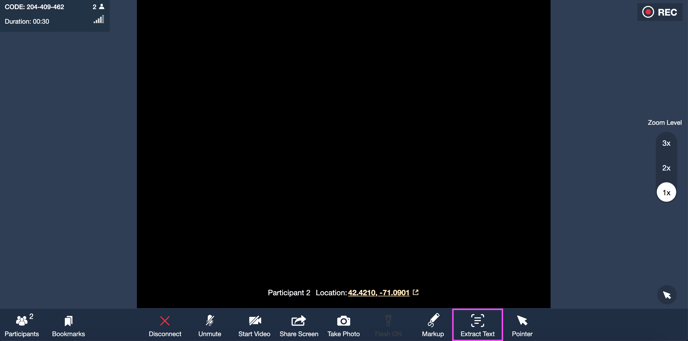
- Use your mouse to draw a box around and highlight the relevant text.
- A notification will pop up when the text has been extracted. You can copy and paste the extracted text to another location to make note of it.
- You can also save the entire image or cropped image to the session history for review later.
Zoom
- Navigate to the "Zoom" panel on the right-hand side of the screen.
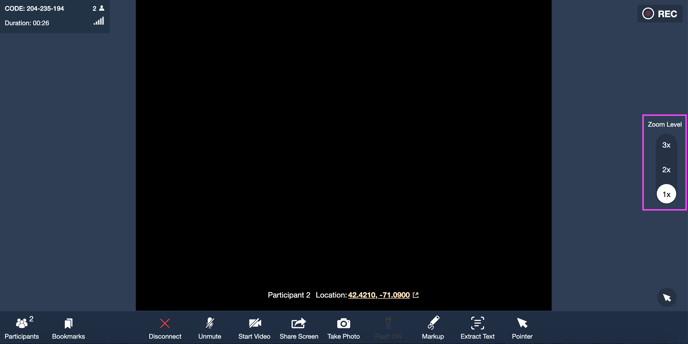
- Select the level of zoom you wish to see.
- Your video and your client's video will readjust to the new zoomed-in version based on your selection.
Note: If you're on your mobile device, you can use the pinch-to-zoom function to zoom in on the video.
Remote Flash Light
*Note: this function only works if the end-user is on the mobile app. If the user is not on the app, you will not be able to select this feature.*
Web portal users can turn ON/OFF the Flash remotely on a mobile device by clicking this button.
- Select "Flash ON" from the menu bar at the bottom of the call session window.
- The flashlight on the client's mobile device will be turned on.
- To turn off the flashlight, select "Flash OFF"